Google Slides
Photo round crop in Google Slides
Editing images adds a creative and professional touch to your presentations. With Google Slides, you can easily crop images into different shapes to better fit your presentation design. Discover step-by-step how to crop a photo round in Google Slides and how to use these edited images to make your presentations more visually appealing. Learn this skill and unleash your creativity with The Presentation Factory.
Step-by-step round crop of a photo
- Open your presentation in Google Slides and go to the slide where you want to edit the picture.
- Click “Insert” from the menu bar and select “Image” from the drop-down menu. Select the desired picture to insert on the slide.
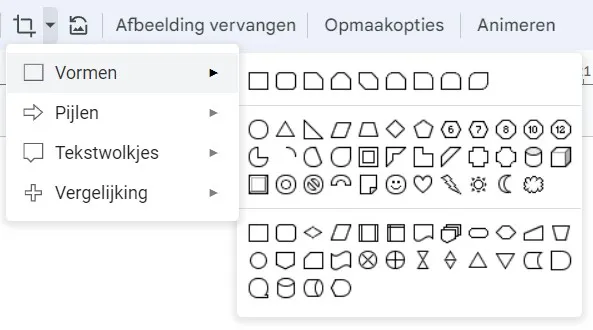
- Click on the inserted photo to select it. In the menu bar at the top click on the arrow next to the “Crop Image” button, here you can select the desired shape
- Choose the “Oval” option to cut out the photo round. You can also try other shapes, such as a square, rectangle or a custom shape.
- Adjust the size and position of the cutout by dragging the handles.
- When you are satisfied with the crop, click the “Crop” button to finally crop the photo into the chosen shape.
- You can further adjust the image by moving it, resizing it, or applying other edits such as brightness and contrast.
With these simple steps, you can creatively edit images in Google Slides by cutting them out in a round way. Experiment with different cropping shapes and combine edited images with text and graphics to create unique slides that reinforce your message.
More helpful tips in PowerPoint? Click here