Google Slides
Animations
In Google Slides, you have several animations that you can apply to give the presentation that extra bit of spice. In this article we will go over the animations you have available and how to apply them.

It’s super easy to add an animation to your presentation. In the ribbon, there’s a button called “Transitions”. When you click on it, a new window appears where you can add and manage transitions and animations in Google Slides.
Adding animation in Google Slides
To add an animation, first click on the object you want to animate. Then, in the Motion panel, click the “Add animation” button to apply the animation to the selected element.
You can also select multiple elements and click the button to add an animation to all of them.

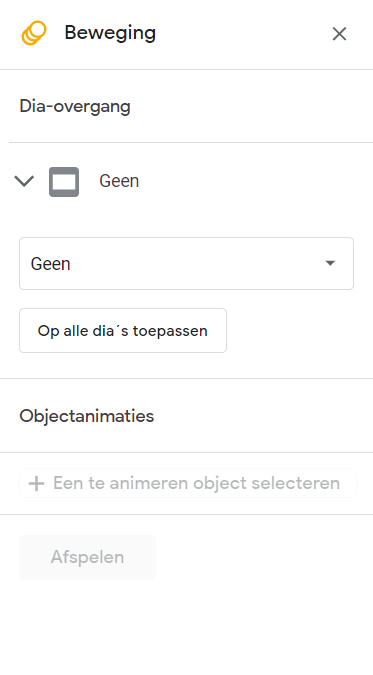
To edit the animation type or timing, click on the animation you want to edit. Now you will see more information about the animation.
In the first dropdown menu, you can select and change the type of animation (by default, it is set to “Fade in”).
In the second dropdown menu, you can select when the animation plays. You can choose whether the animation should play on click, simultaneously with, or after the previous animation.
When animating a text block with several paragraphs, you can also choose to animate the text per paragraph.
Finally, you also have the option to adjust the speed of the animation.
Tip: When you want a number of elements to be animated in quick succession you can achieve this by varying den speed between the elements you want to animate. For example, in a row with four elements you can give the first element a speed of 0.7 seconds, the second a 0.8, then a 0.9 and finally a 1second speed. This small difference will make your animations just a little smoother and more fluid. The animation type “Flying in from below” creates the best effect for this.
In this window you will also find the option to add transitions. You can find more information about this here.
More helpful tips in PowerPoint? Click here